> For the complete documentation index, see [llms.txt](https://docs.charted.com/ap-automation/llms.txt). Markdown versions of documentation pages are available by appending `.md` to page URLs; this page is available as [Markdown](https://docs.charted.com/ap-automation/charted-configuration/on-premise-check-printing/global-settings-and-approval-options.md).
# Global Settings & Approval Options
### **Abstract**
*Advanced Check Printing* is a *SuiteBundle* feature that allows administrators to manage how checks are printed, approved, and processed within *NetSuite*. These global settings are critical for maintaining internal controls, enforcing approval workflows, and ensuring consistency in check handling across business entities. Organizations with complex approval chains or multi-departmental financial operations especially benefit from these settings, as they provide a central point to configure both system defaults and approval logic for check processing.
This article outlines how to access and configure the global settings for *Advanced Check Printing*, including how to enable approval workflows that ensure checks are properly authorized before printing.
Before getting started, note that all **Advanced Check Printing** configuration settings are restricted to users with the Administrator role. No additional security setup is required to access these options. However, check printing itself is available to all roles by default. If needed, administrators can limit check printing access by editing the **customdeploy\_sw\_chk\_print\_checks** script deployment. Within the **Audience** tab, uncheck the **Roles** option and assign access only to specific roles or employees.
### **Configuring Global Settings and Enabling Check Approvals**
To control how checks are printed and approved within *NetSuite*, administrators must configure the global settings under the **Advanced Check Printing SuiteBundle**. These settings govern everything from default behaviors to enforcement of approval workflows. Proper configuration ensures consistency in processing and enables secure check printing practices for organizations with approval requirements.
Follow the steps below to access the settings and activate the required approval options:
1. If the **Advanced Check Printing** bundle isn’t installed yet, navigate to the **Customization** menu, hover over **SuiteBundler**, then select **Search & Install Bundles**:\
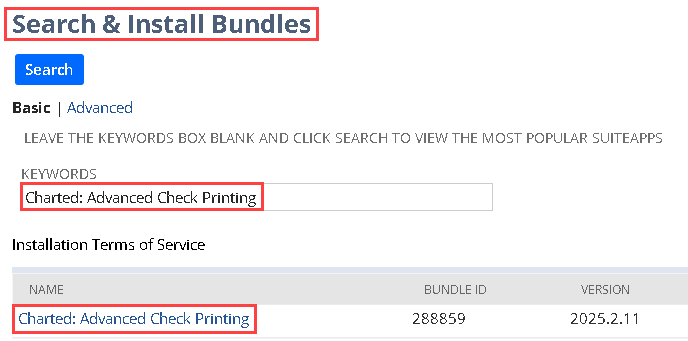
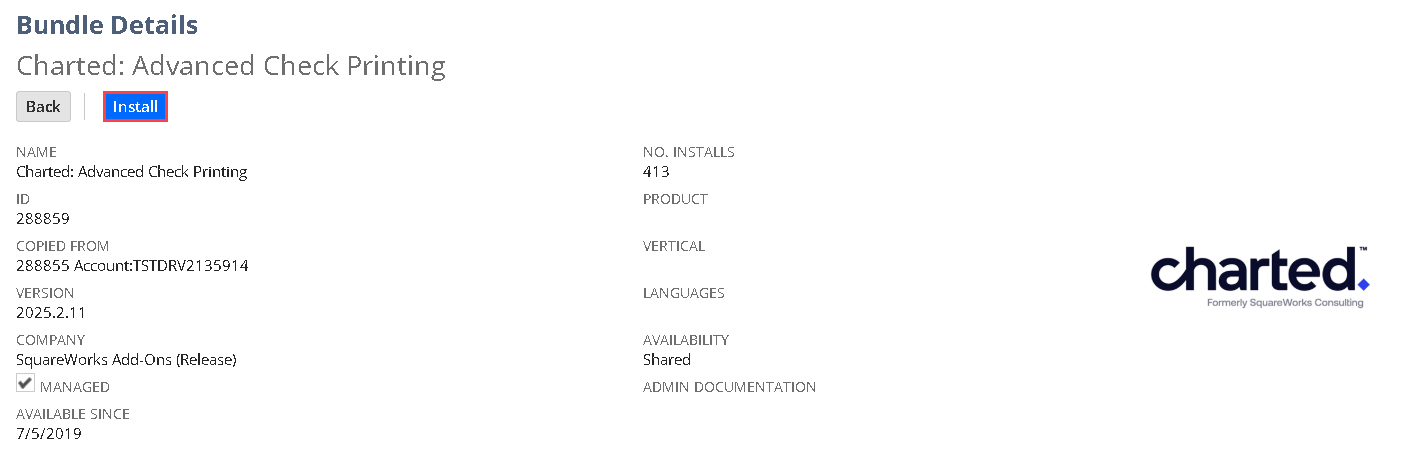
2. Once on the **Search & Install Bundles** page, search **Check Printing** or enter the keyword **288859** in the **KEYWORDS** box to locate the **Charted: Advanced Check Printing** bundle. Click the bundle name, then click the **Install** button:\
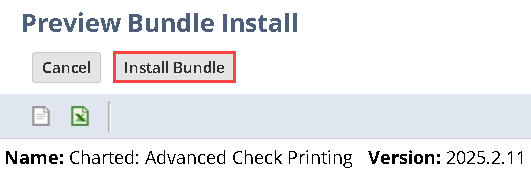
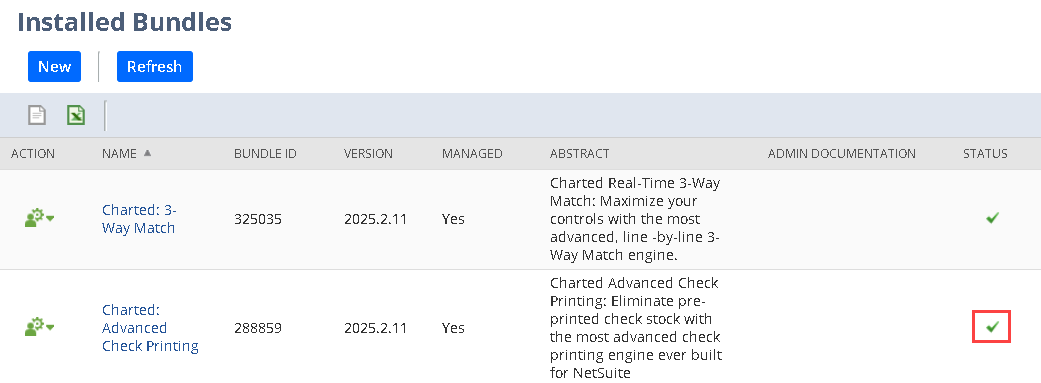
3. On the **Preview Bundle Install** screen, click the **Install Bundle** button**.** You will be redirected to the list of installed bundles in your account. Wait for the bundle to install. Once installed, you will see a green check mark in the **Status** column:\
4. To begin the configuration, open the **Setup** menu, hover over **Check Printing,** and click **Settings:**\
\
\
Then, the **CPB Settings** page will open:\
5. Next, review the **Save File Copy** setting and select **Per Batch** for a single, combined PDF remittance file and/or **Per Check** to generate individual PDF remittance files:
6. Next, review the **Check Print Order** section of the **CPB Settings**:\
\
\
Then, check the default settings, including options like **Enable Vendor Credit Lines** and **Use Approval Workflow Automation**, and check and uncheck them as needed:\

This concludes the process of configuring the settings and activating the required approval options for **Advanced Check Printing**.
---
# Agent Instructions
This documentation is published with GitBook. GitBook is the documentation platform designed so that both humans and AI agents can read, navigate, and reason over technical content effectively. Learn more at gitbook.com.
## Querying This Documentation
If you need additional information that is not directly available in this page, you can query the documentation dynamically by asking a question.
Perform an HTTP GET request on the current page URL with the `ask` query parameter, and the optional `goal` query parameter:
```
GET https://docs.charted.com/ap-automation/charted-configuration/on-premise-check-printing/global-settings-and-approval-options.md?ask=&goal=
```
`ask` is the immediate question: it should be specific, self-contained, and written in natural language.
`goal` is optional and describes the broader end goal you are ultimately trying to accomplish on behalf of the user. GitBook uses it to tailor the answer towards what is most useful for that goal.
The response will contain a direct answer to the question and relevant excerpts and sources from the documentation.
Use this mechanism when the answer is not explicitly present in the current page, you need clarification or additional context, or you want to retrieve related documentation sections.